
How To: Headband Kerchief Sewing...Easy, Fast & Fun
My children are extremely fair skinned. They burn like I do, which is to say, always. They also have fine hair which does little to protect their scalps from the sun. My son's hair sticks up enough that it isn't too much of a problem for him (though his ears are always a worry), but my daughters suffer frequent sunburns where their hair parts on the top of their heads and you can't put sunscreen on easily.
They are also kids who don't like hats. I have tried many hats: hats with straps, hats with big brims, hats with small brims, baseball caps, cowboy hats & beanies. I'd buy them sombreros if I thought they'd wear them. They ditch the hats as soon as they get outside. I can't blame them really, but it has posed a problem for me as a skin cancer fearing mother.
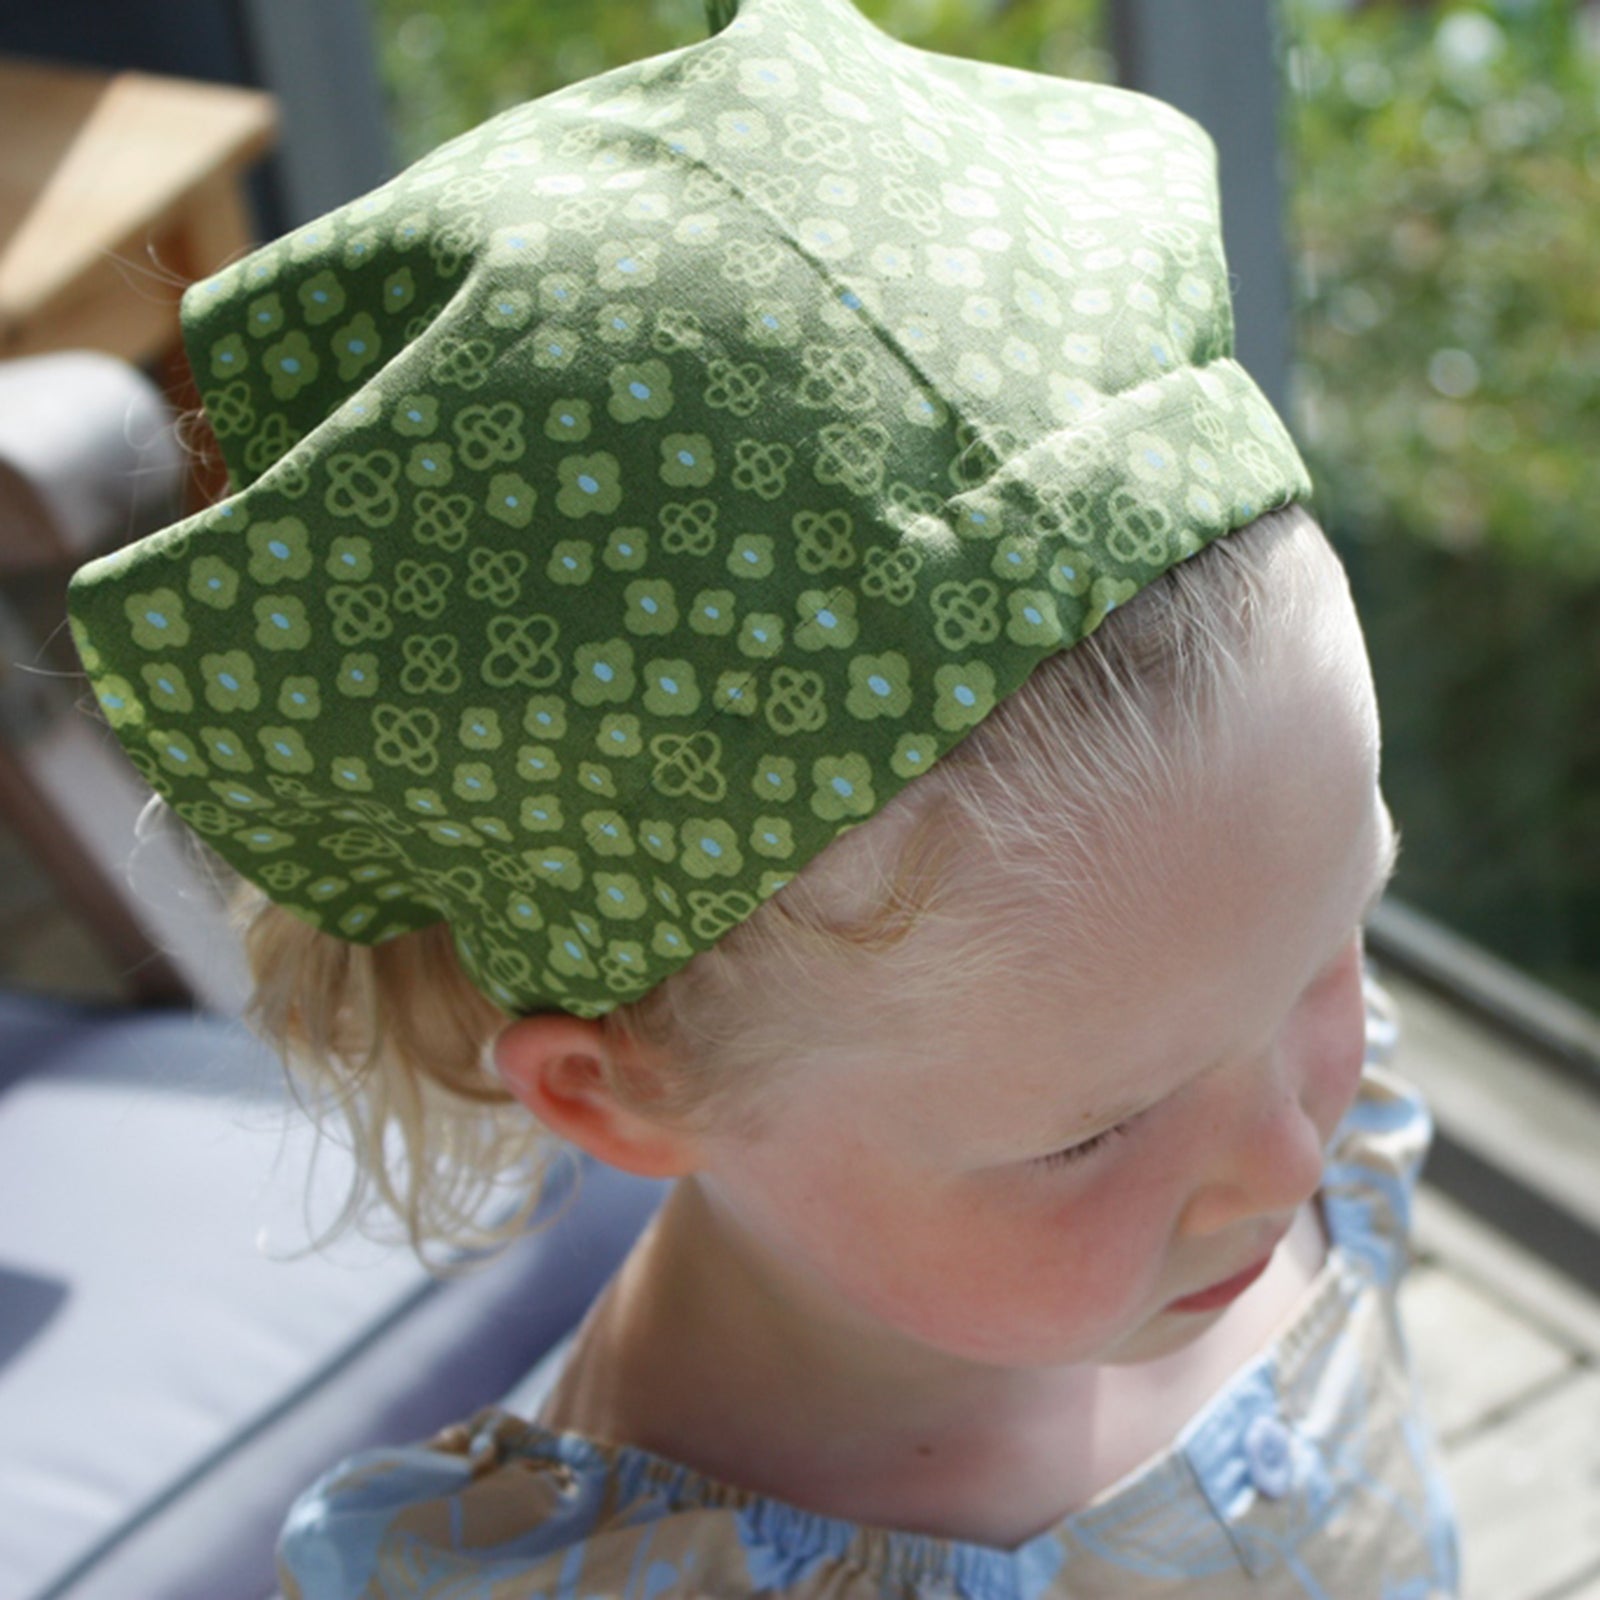
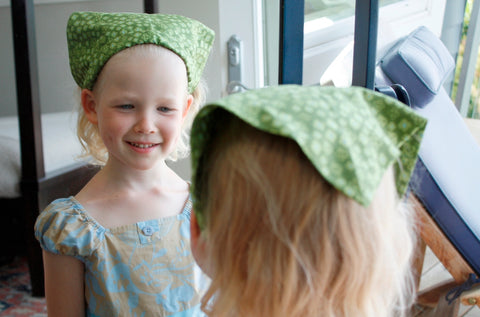
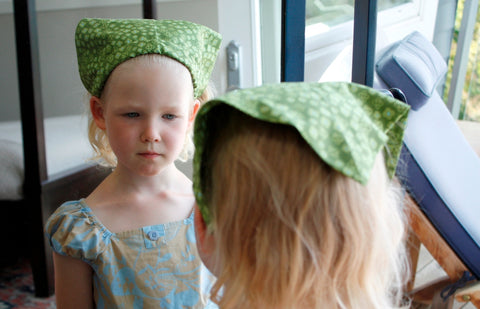
So this is my solution: Headband Kerchiefs

They cover the scalp, keep the hair out of their eyes, are comfortable and easy for the kids to put on themselves, add a little pretty bling to the ensemble and they're ridiculously cheap and easy to make.
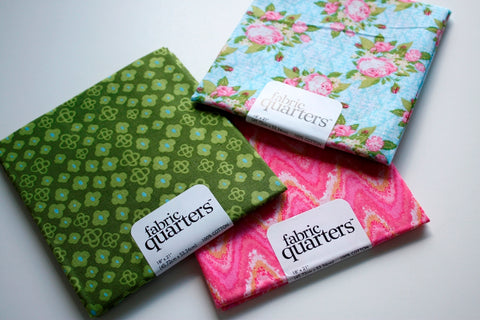
All you need is the "Fat Quarter" squares from a fabric store. One fat quarter makes two kerchiefs. You also need elastic for the headband, scissors, pins, and a sewing machine...or fast sewing fingers.
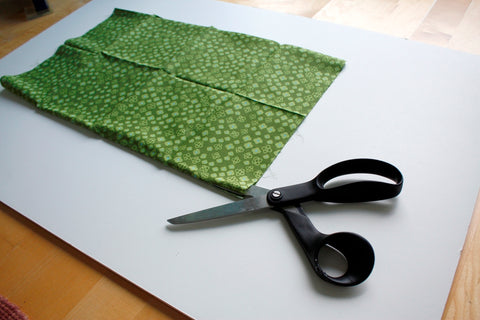
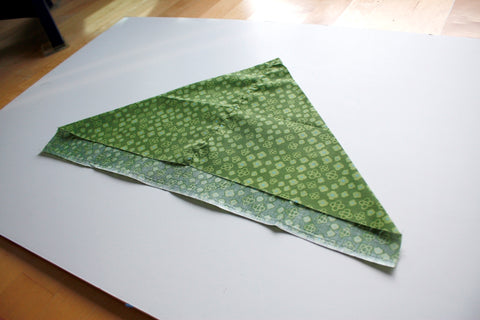
Start by cutting your fat quarter in half so that you end up with a piece of fabric that is approximately 11"x18".
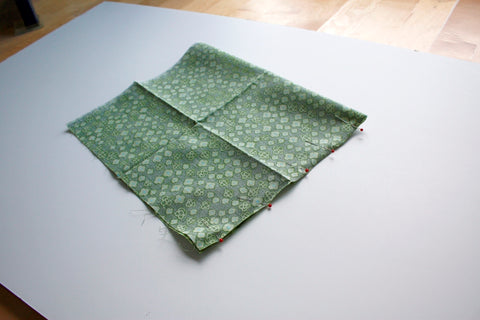
Fold one piece of the fabric in half again (right side in) and pin one of the edges that is perpendicular to the folded edge. Sew a 1/4 inch seam along that pinned edge.
Fold the fabric right side out again so that it makes a pointed shape, like this. Iron it.
Fold the outside edges of the fabric in toward the center about 1 1/2-2 inches and pin in place.
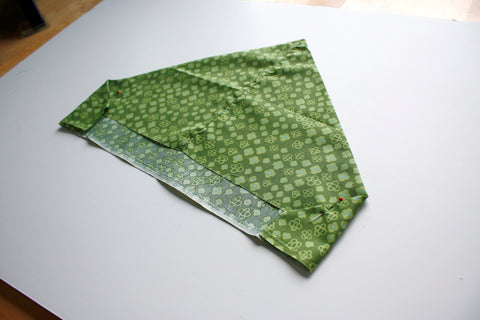
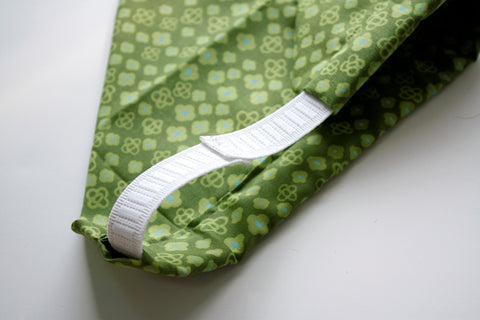
Fold up (and iron) 1/4 inch of the bottom, unfinished edge of fabric so that you will have a nice, clean look when you move on to the next step. Also cut a piece of elastic that measures between 19" and 21", depending on the size of the head that the kerchief will be fitting. My five year old daughter needs a 19" piece.
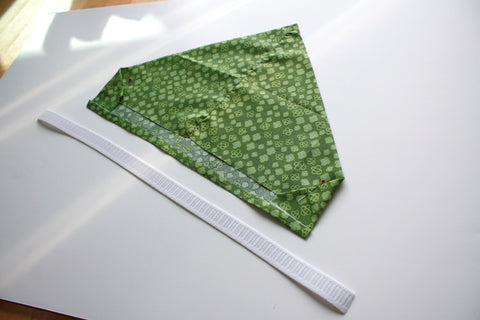
Lay the elastic down along the bottom edge and fold up the fabric approximately 1 1/2" so that it more than covers the elastic band. You want to have about 1/4" of extra fabric space beyond the elastic so that when you stitch it you won't hit the elastic, which needs to be able to move freely inside the fabric "sleeve" that you're creating. Pin everything in place and stitch.
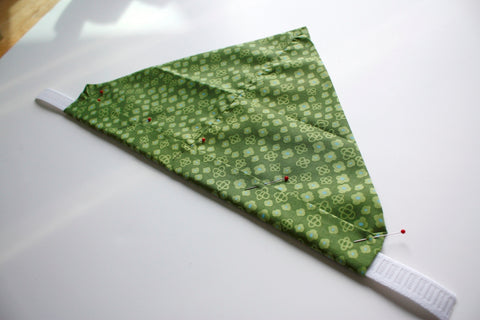
The only thing left to do is connect the two ends of elastic to each other with a few zigzag stitches. If you were successful in not catching any of the elastic with your sewing machine needle, you should be able to pull the band through a bit so that the area where the two ends join is tucked nicely away, inside the fabric.
My young model started out being quite amenable to photos, but apparently my window for smiles was very small and I "took too long." Oh well....at least her head won't get burned.

You never stated what width of elastic to use.
Leave a comment