How To: Fabric Tape
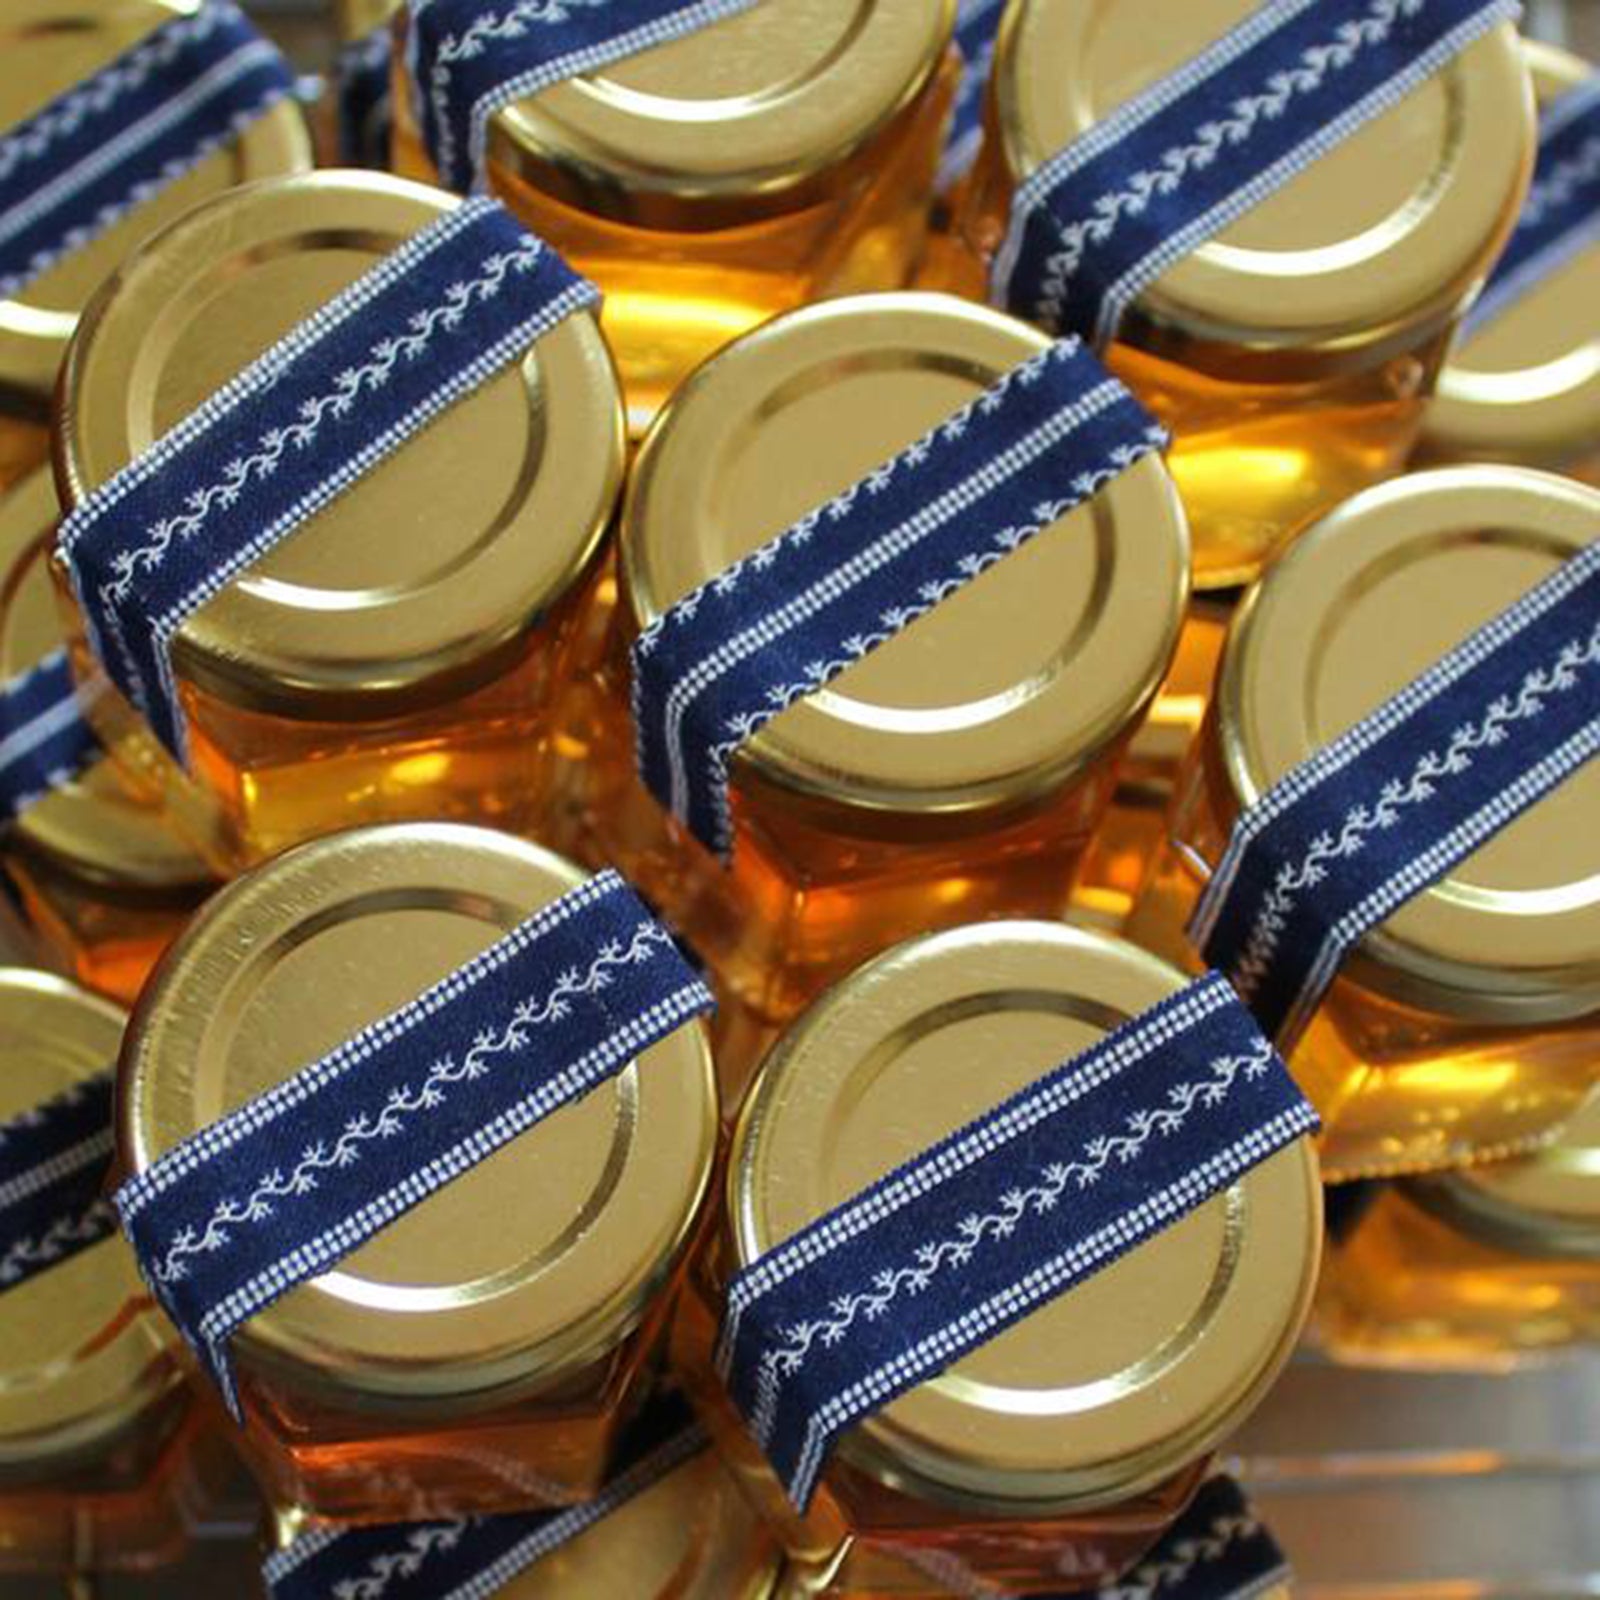
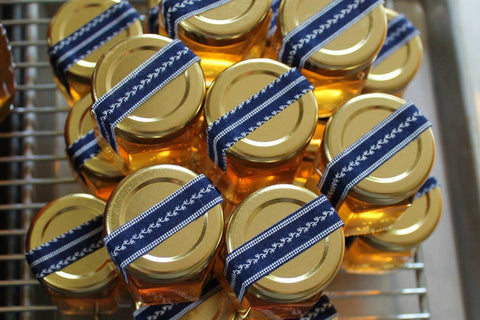
My crafty friend Britt (who also happens to be a fledgling beekeeper), came up with this great DIY project when she needed some decoration for her lovely honey jars. Then she was kind enough to let me post the tutorial here on Skruben! Here's how she did it...
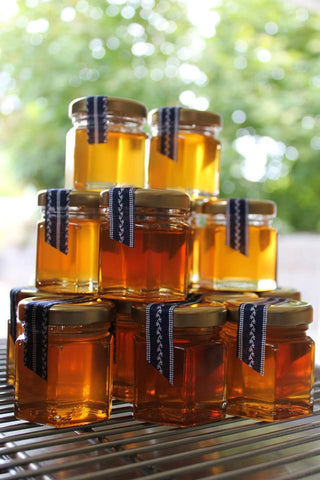
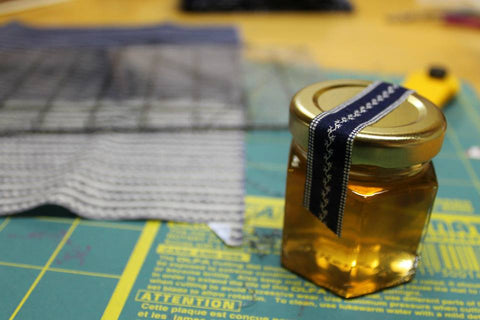
I needed to secure the lids on my 2oz honey jars (they only screw on about 1/16 of a turn) and thought about Japanese Washi paper tape, but thought fabric tape might be more fun. I'm not the first to make it (or to do a how-to) but this is the first I saw with just the regular clear tape.
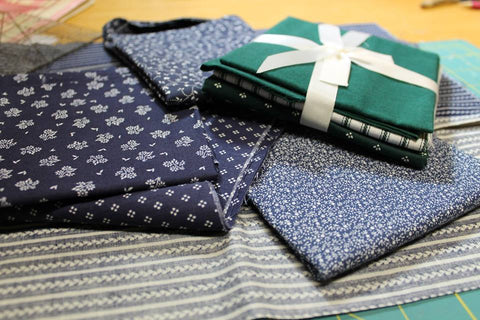
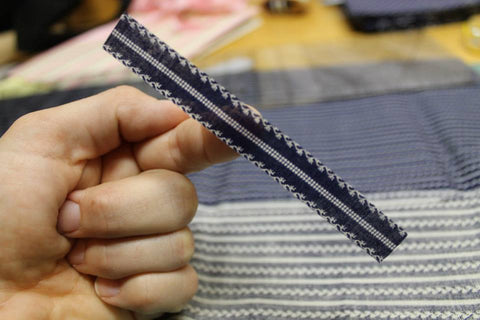
Pick a fabric. Small prints and solids make the prettiest tapes. Fat quarters and even scraps work fine.
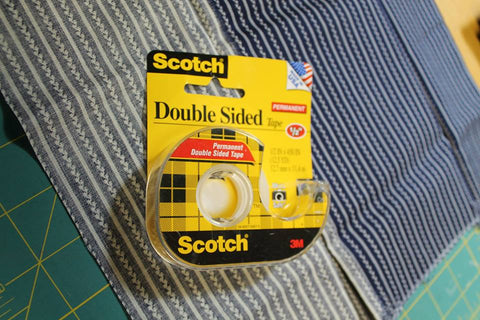
If you're going to use the tape immediately, standard double-sided tape is great. If you want to make it ahead, use something like this double sided tape with the protective backing on so you can store it.
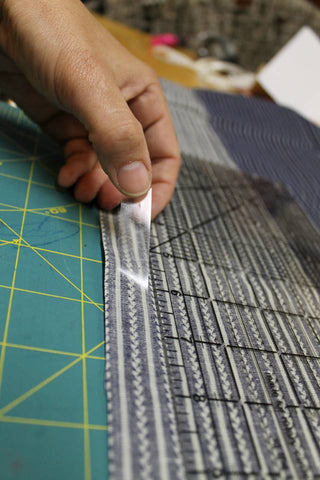
Apply your tape. If you have a pattern to work with, clear tape is great here because you see through to check your alignment.
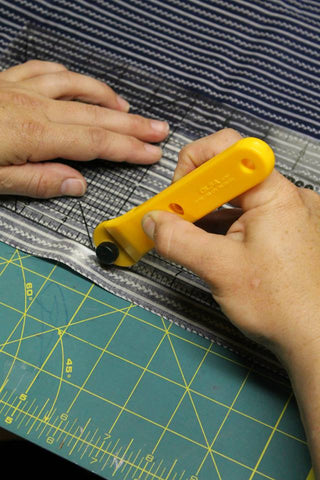
You could use scissors to cut out your tape, but a rotary cutter, straight edge and mat allow for the cleanest cuts.
Leave a comment